
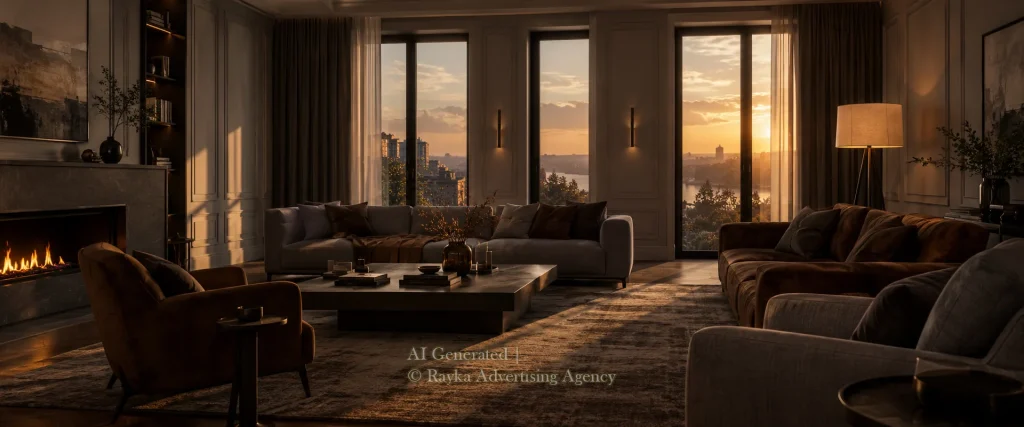
Looking for Interior Design Photoshoot Ideas to capture the beauty of a space? The right lighting, composition, and styling can transform ordinary interior photos into visually compelling images that highlight a room’s design and character. Whether you’re photographing a home, a professionally designed interior, or a rental property, these 15 creative ideas will help you capture everything from wide room views to architectural details and decorative accents.
With insights inspired by professional interior photography, including the approach at J Light Photography Studio, you’ll discover practical ways to create images that look polished, natural, and engaging.
15 Interior Design Photoshoot Ideas to Try
Great interior photography is about more than capturing a room; it’s about showing how its layout, lighting, textures, and design elements work together. These interior design photoshoot ideas will help you create visually balanced images that highlight the character of any space, whether you’re photographing a home, a professionally designed interior, or a rental property. For projects that require a polished, professional look, Interior Photography in Ottawa can also help showcase a space’s best features for portfolios, property listings, and design marketing.
1. Capture a Wide Shot of the Entire Room
Start with a wide-angle composition that shows the room’s layout, furniture arrangement, and overall atmosphere. Position the camera at a natural height and keep vertical lines straight to avoid making walls or furniture appear distorted. Choose an angle that reveals the room’s key features without including unnecessary clutter, giving viewers a clear sense of the space and how its elements work together.
2. Use Natural Window Light
Natural window light can make interior photos feel warm, inviting, and realistic while bringing out the textures of furniture, fabrics, and finishes. Observe how sunlight moves through the room and choose a time when the light complements the space without creating harsh shadows or overexposed windows. For a balanced result, adjust your shooting angle or use sheer curtains to soften direct sunlight and preserve the room’s natural atmosphere.
3. Create a Layered Composition
Create depth in your interior photos by combining a foreground element, a main subject, and details in the background. For example, frame a living room through the edge of an armchair, keep the sofa as the focal point, and include artwork or shelving behind it. This interior photography technique adds visual interest and helps tell a more complete story of the space without making the composition feel cluttered.
4. Highlight Architectural Details
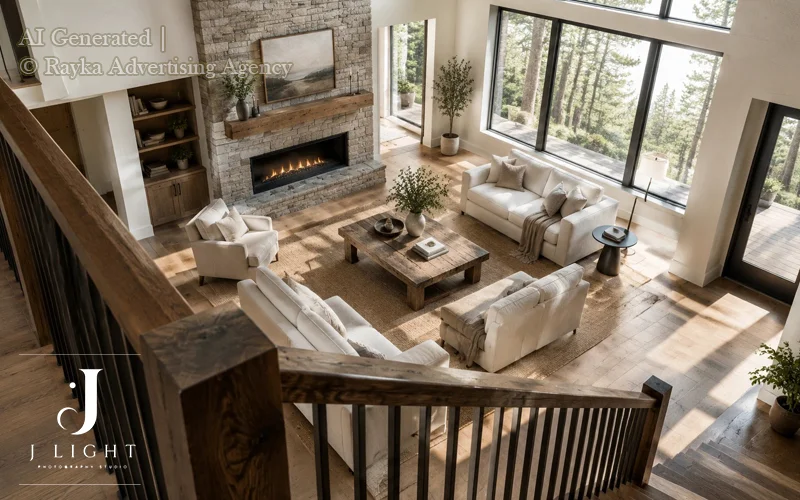
Architectural details give an interior its unique character and deserve more than a passing glance. Instead of photographing only the entire room, focus on design features that showcase craftsmanship, materials, and the overall style of the space. Architectural Photography complements interior photography by highlighting structural elements, distinctive lines, and carefully designed features that define a space’s character.
Use clean compositions and carefully chosen angles to emphasize the shape, texture, and proportions of each element. When planning your interior photography shots, pay attention to these details:
- Arches and doorways: Capture their shapes and how they frame adjoining spaces.
- Wall mouldings and paneling: Highlight patterns, symmetry, and surface details.
- Wooden beams and ceiling designs: Show distinctive structures and material finishes.
- Staircases and railings: Emphasize their lines, curves, and geometric forms.
- Built-in shelving and cabinetry: Showcase craftsmanship, joinery, and functional design.
- Fireplaces and feature walls: Photograph materials, textures, and decorative elements.
- Decorative lighting fixtures: Capture their design alongside the architectural features they illuminate.
5. Photograph Furniture as a Focal Point
A statement piece of furniture can become the centerpiece of a compelling interior photograph. Choose an item with distinctive lines, materials, or colors, such as a sculptural armchair, a designer sofa, or a unique dining table. Keep surrounding objects to a minimum and use thoughtful lighting to highlight the furniture’s shape, texture, and craftsmanship without distracting from its design.
6. Focus on Textures and Materials
Close-up shots reveal the tactile qualities that make an interior design feel distinctive. Photograph materials from different angles and use soft, directional light to bring out surface details without creating distracting reflections.
These interior photography ideas work particularly well for design portfolios, where showing the quality of finishes can be just as important as capturing the overall room. Focus on these textures and materials:
- Natural wood: Capture the grain, knots, and variations in tone across floors, furniture, or wall panels.
- Natural stone and marble: Highlight veining, polished finishes, and subtle color variations.
- Textiles and upholstery: Photograph the weave of linen, the softness of velvet, or the texture of woven rugs.
- Metal finishes: Showcase brushed brass, matte black fixtures, or polished chrome details.
- Ceramic and tile: Focus on surface patterns, grout lines, and handcrafted finishes.
- Glass and reflective surfaces: Capture transparency, reflections, and the contrast between glossy and matte materials.
- Concrete and plaster: Emphasize subtle imperfections, layered finishes, and tactile surfaces.
7. Style a Coffee Table or Console
A carefully styled coffee table or console can create an attractive focal point within a larger interior scene. Combine a few objects with different heights, shapes, and materials, such as books, a ceramic vase, and a small decorative piece. Leave enough empty space to keep the arrangement balanced, and position the camera to show both the styling and how it complements the surrounding furniture. The goal is to create a natural, editorial look rather than a cluttered display.
8. Shoot Symmetrical Interiors
Symmetry can create clean, balanced interior photographs that feel organized and visually pleasing. Look for matching windows, bedside tables, dining chairs, kitchen cabinets, or architectural features that naturally form a symmetrical composition. Position the camera along the central axis of the room and keep it level to maintain straight vertical lines and an even visual balance. This technique works particularly well in minimalist interiors, bedrooms, and spaces with strong geometric designs.
9. Experiment with Reflections
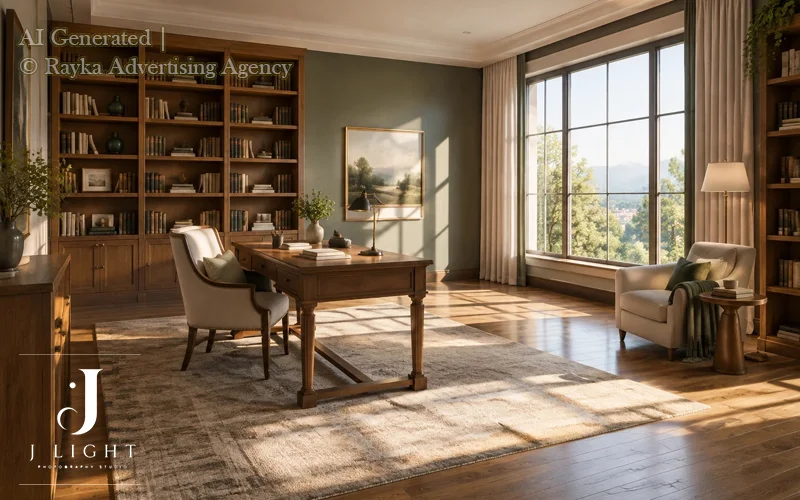
Mirrors, glass doors, and glossy surfaces can add depth and an interesting visual layer to interior photographs. Use reflections to capture architectural details, decorative objects, or parts of a room that might otherwise fall outside the frame. Adjust your camera position and the angle of the light to control what appears in the reflection, and check for unwanted glare or visible camera equipment. When used thoughtfully, reflections can make an interior composition feel more dynamic without distracting from the design itself.
10. Capture an Editorial Detail Shot
Create a small, thoughtfully styled scene that looks like it belongs in an interior design magazine. Combine a few complementary elements, such as a table lamp, art books, a ceramic vase, or a framed artwork, and arrange them to create a balanced composition. Pay attention to negative space, color harmony, and the direction of light to keep the image refined rather than overcrowded. These creative interior photography ideas are especially useful for showcasing a designer’s styling choices and adding variety to a project portfolio.
11. Photograph a Kitchen Island or Dining Table
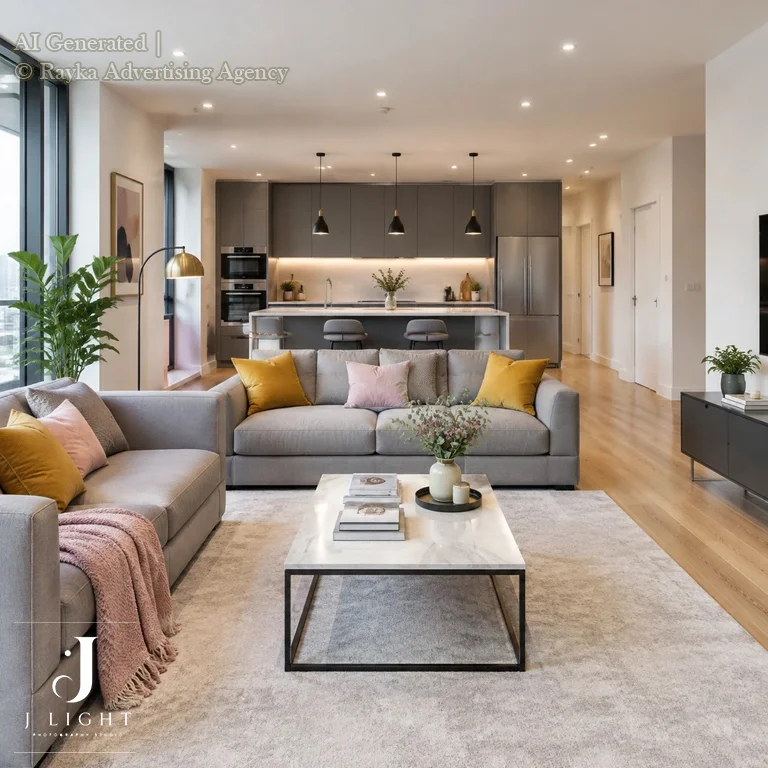
Kitchen islands and dining tables are ideal subjects for photographs that combine functionality with visual appeal. Capture the clean lines of the countertop, the arrangement of chairs, and carefully selected details such as tableware, flowers, or pendant lighting. Try a wide angle to show how the area connects with the rest of the room, followed by a closer composition that highlights materials and finishes. Keep the styling simple so the image communicates both the practical use of the space and the quality of its design.
12. Frame a Bedroom for a Calm, Luxurious Feel
Create a relaxing bedroom atmosphere by highlighting layered bedding, carefully arranged pillows, soft textiles, and coordinated bedside lighting. Position the camera to emphasize the bed as the main focal point, using symmetry where appropriate to create a balanced composition. Choose natural-looking colors and realistic textures to preserve the room’s character. For a more inviting result, photograph the space with soft window light and ensure that decorative accessories complement the design rather than overwhelm it.
13. Make Small Rooms Look Spacious
Small rooms can look brighter and more open with thoughtful camera placement and careful composition. Photograph from a corner that reveals as much of the room as possible, remove distracting objects from the frame, and use a wide-angle lens selectively to show the relationship between different areas.
Keep vertical lines straight and avoid excessive perspective correction or distortion that makes walls and furniture look unnatural. These techniques are particularly useful for home interior photoshoots and real estate photography, where accurate proportions help viewers understand the space.
14. Photograph Indoor-Outdoor Connections
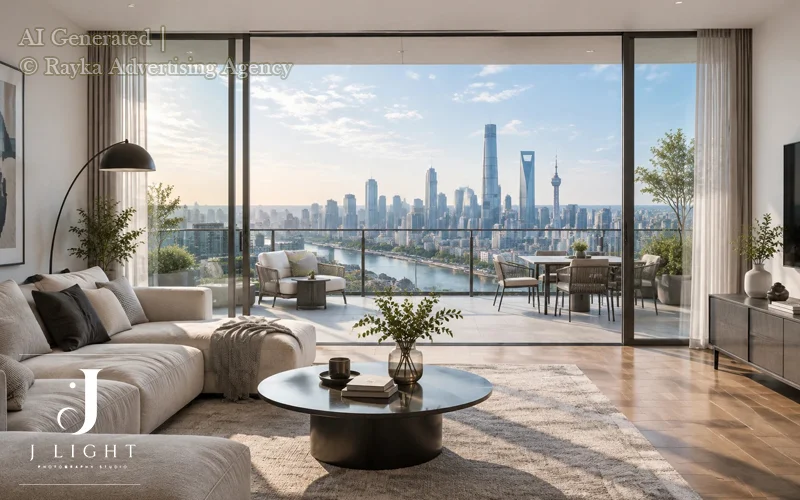
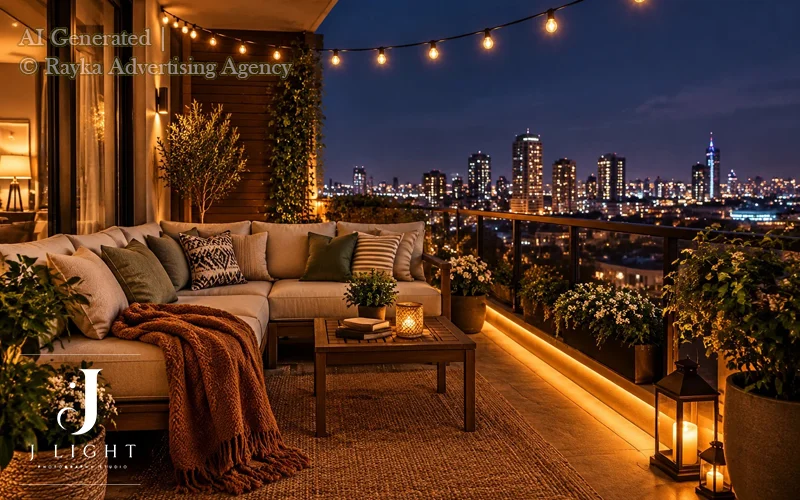
Show how indoor spaces connect with the outdoors by framing living rooms alongside balconies, patios, gardens, or large windows. Compose the shot to highlight the transition between the two areas, using architectural lines and natural elements to create visual continuity. Pay attention to the difference in brightness between the interior and exterior; adjust your exposure or use exposure blending when appropriate to retain detail in both areas. This approach works particularly well for interiors with large windows, outdoor views, or open-plan layouts.
15. Capture Lifestyle Details Without Distracting from the Design
Add a sense of everyday life to interior photographs with subtle details, such as an open book on a coffee table, a cup beside a window, or a softly illuminated table lamp. These small touches help viewers imagine how the space feels and functions without requiring people to appear in the frame. Keep accessories consistent with the interior’s style and leave enough negative space to maintain a clean composition. The goal is to create a welcoming, lived-in atmosphere while keeping the design itself at the center of attention.
How to Choose the Right Photoshoot Idea for Your Space?
The best interior design photoshoot ideas depend on the type of space, its purpose, and the details you want to highlight. A residential property may benefit from bright, balanced room views, while a designer’s portfolio often needs closer shots of materials, finishes, and architectural features. Real Estate Photography focuses on presenting a property’s layout, key amenities, and overall appeal through clear, well-composed images.
If your goal is to market a property or rental, prioritize photos that help viewers understand the space and its features. Use this quick guide to choose the most suitable approach for your next interior photoshoot.
| Space Type | Recommended Photography Ideas |
| Home or apartment | Wide room shots, natural light, and layered compositions |
| Luxury or designer interior | Architectural details, textures, and symmetry |
| Property for sale | Clear room views, connected spaces, and balanced lighting |
| Short-term rental | Functional room shots, standout amenities, and appealing details |
| Interior design project | Wide compositions combined with close-ups of materials and finishes |
If you’re photographing a short-term rental, explore our guide to Airbnb photography tips for practical advice on lighting, styling, and capturing property features that matter to potential guests.
How to Prepare a Space for an Interior Photoshoot?
Preparing a space before an interior photoshoot helps create clean, balanced images that showcase the design without unnecessary distractions. Whether you’re photographing a home, a rental property, or a completed design project, a few simple steps can make a noticeable difference. Use this checklist before you start shooting:
- Clean all surfaces: Remove dust, fingerprints, and clutter from countertops, tables, and shelves.
- Refresh soft furnishings: Straighten curtains, arrange cushions, and smooth out bedding.
- Hide distractions: Remove visible cables, trash bins, and personal items that don’t support the composition.
- Style thoughtfully: Choose decorative accessories that complement the room’s colors, materials, and scale.
- Check artificial lighting: Look for conflicting color temperatures that can make walls and furnishings appear unnatural.
- Test different angles: Take quick test shots from key viewpoints to identify the strongest compositions.
- Create a shot list: Note the essential room views, architectural features, and details that need to be captured.
A little preparation helps your interior photography look more polished while keeping the space authentic and inviting.
Common Interior Photography Mistakes to Avoid!
Even a beautifully designed space can look unappealing in photos if basic photography techniques are overlooked. Avoid these common mistakes to create more natural, balanced, and professional-looking interior images:
- Tilted vertical lines: Keep walls, door frames, and windows straight to maintain realistic proportions.
- Excessive wide-angle distortion: Use wide-angle lenses carefully to avoid stretching furniture or making rooms look unnatural.
- Poor window exposure: Balance indoor and outdoor brightness to preserve important details.
- Cluttered compositions: Remove distracting objects from surfaces and frame edges.
- Unnatural editing: Keep colors, brightness, and contrast consistent with the actual space.
- Missing key details: Capture distinctive materials, architectural features, and design elements.
- Repetitive angles: Choose viewpoints that suit each room’s layout and purpose.
- Over-editing: Avoid changes that misrepresent the property’s actual appearance.
When Should You Hire a Professional Interior Photographer?
Hiring a professional interior photographer can be valuable when you need polished, consistent images to present a space effectively. Consider professional photography when publishing an interior design project, marketing a property, preparing images for a short-term rental, building a design portfolio, or creating branded content for your business.
A professional photographer can help control perspective, balance natural and artificial light, select angles that showcase a room’s best features, and maintain a consistent look across the full image collection. Careful editing also helps keep colors and exposure balanced while representing the space realistically.
J Light Photography Studio is an option for homeowners, designers, property professionals, and businesses seeking professional interior images. Explore the studio’s Interior Photography services to learn more about photographing your space, and browse the related Real estate Portfolio for examples of interior and property photography.
Interior Photography Inspiration from J Light Studio
At J Light Photography Studio, interior photography focuses on the details that give each space its character from natural light and balanced composition to architectural features, textures, and finishes. Whether you’re building an interior design portfolio or showcasing a completed project, the right images can help communicate your design vision and craftsmanship.
Explore J Light Studio Interior Photography Portfolio to discover real residential, commercial, and design projects photographed by J Light Photography Studio.
Final Thoughts: Bring Your Interior Design Vision to Life
The best interior design photoshoot ideas combine thoughtful composition, natural lighting, and carefully selected details to show what makes a space unique. Whether you’re showcasing a completed design project, marketing a property, or building a professional portfolio, well-planned interior photography helps present your space clearly and compellingly.
If you’re ready to showcase your space with professional images, contact J Light Photography Studio to discuss your interior photography needs and explore the right approach for your project. Turn your design vision into images that capture the character, details, and atmosphere of your space.
FAQs
Start with wide room shots, natural light, and close-ups of architectural details or textures. Keep the space tidy and experiment with different angles.
Open curtains to let in daylight and avoid harsh direct sunlight. Adjust exposure to balance bright windows with darker areas of the room.
It depends on the room’s orientation and window placement. Morning light, late-afternoon light, or bright overcast conditions can create soft, balanced images.
Shoot from a corner, remove clutter, and use a wide-angle lens carefully. Keep vertical lines straight to maintain realistic proportions.
A camera, wide-angle lens, and tripod are useful starting points. Good lighting and careful composition are just as important as equipment.
Yes, professional photos can showcase a property’s layout, features, and finishes clearly, helping potential buyers or renters understand the space.
Clean surfaces, remove clutter, straighten furnishings, and organize decorative details. Prepare a shot list to ensure you capture the most important features.
Visit the J Light Photography Studio website and use its contact page to discuss your project, preferred date, and photography needs. Confirm availability and pricing directly with the studio.
Leave a Reply